Pipeline Setting

- Navigate
- Click on the content list below
to skip ahead to the different sections
on this page -
Workflows Settings
-
Task Templates
-
New Templates
-
Loan / Lead Status
The Infynity Pipeline setting provides you with the ability to customise an existing pipeline, create
workflow activities and build alternative Pipelines.
To set-up a new Pipeline or set of workflows follow these steps:
- Identify if you need to create any new Sales Statuses above the default statuses already provided in
the Infynity platform.
This will be the case if you are creating a Lead Pipeline. - Create your new pipeline
- Identify if you want to set - up any automated workflow to set-up tasks or send templated emails to your client
- New email templates can be created under the Marketing Menu
- New task templates are created in Pipeline Settings
- Create your Workflow – identify what Sales Status you want to use to trigger the workflow, timings and type of workflow.
An example of the Pipeline view:
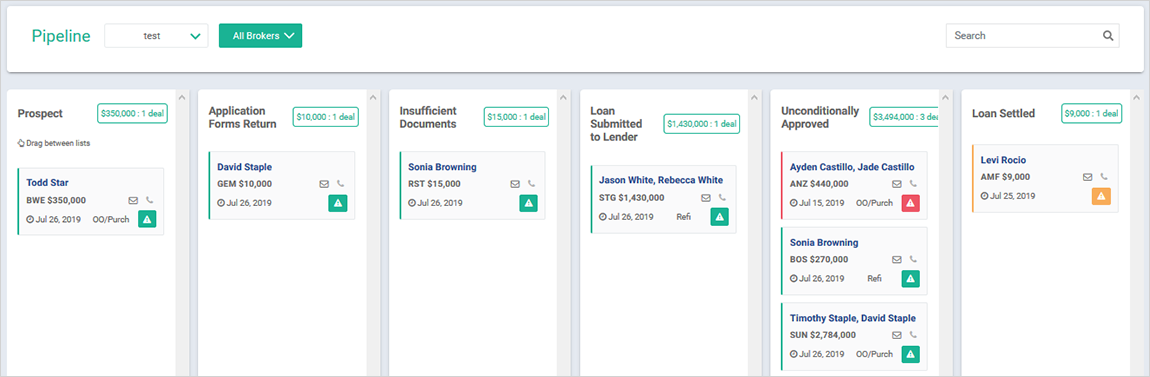
This example was achieved by the following settings in the below two images:
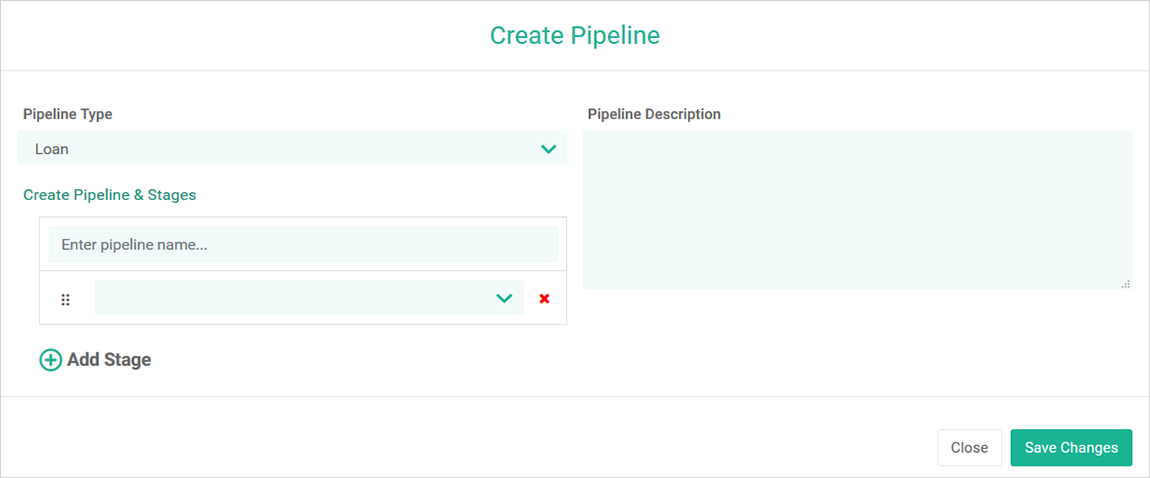
To create a new Pipeline, click the 'Create Pipeline' button:
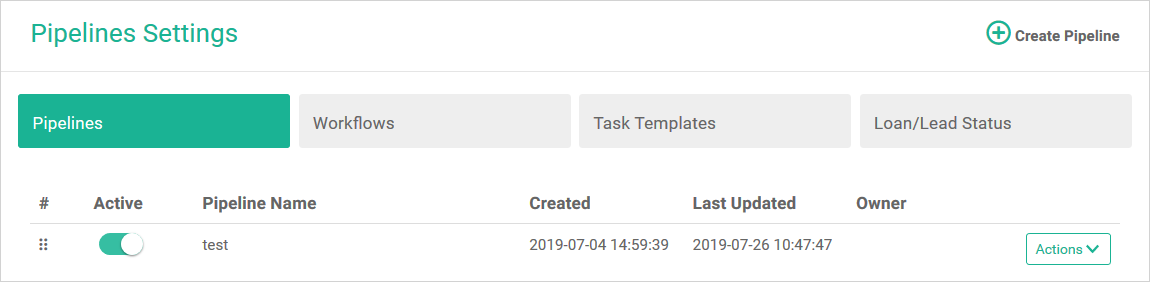
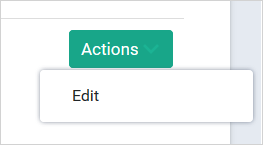
To change the settings of an existing Pipeline, click the 'Actions' and then 'Edit' button:
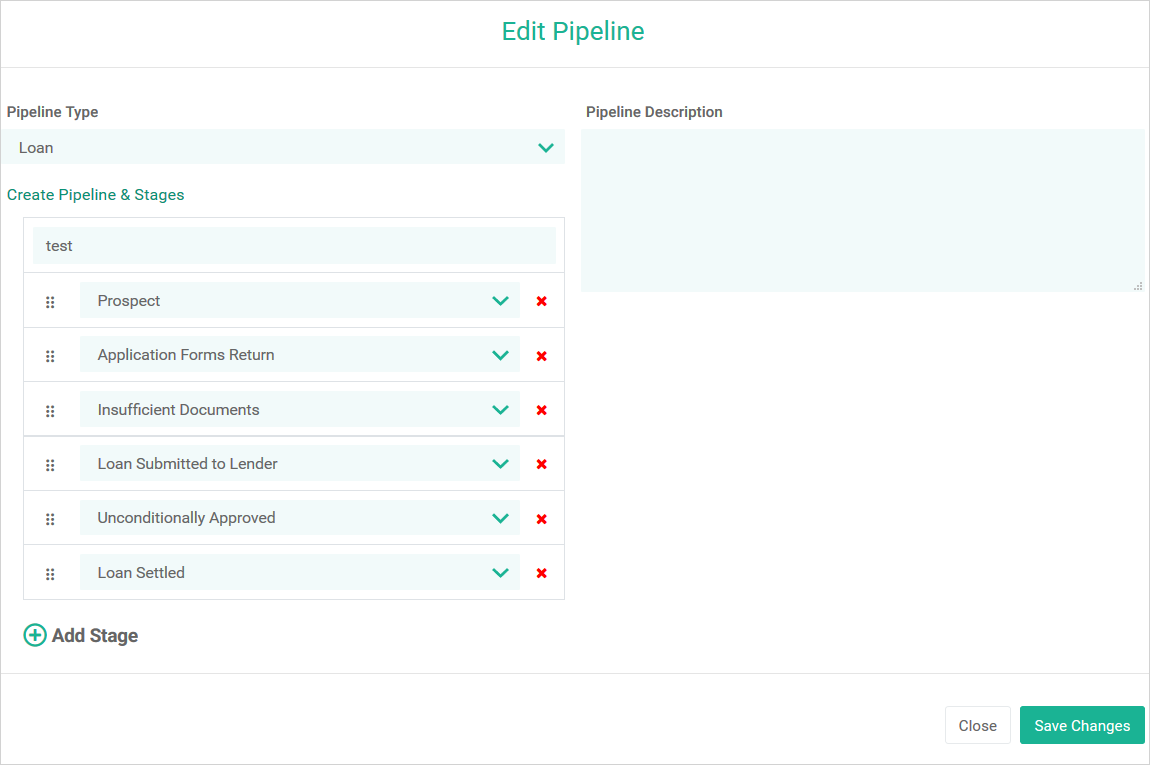
To create or edit a Pipeline, the following steps are required:
- Pipeline Type: Loan or Lead
- Pipeline Description: customise
- Pipeline Name: customise
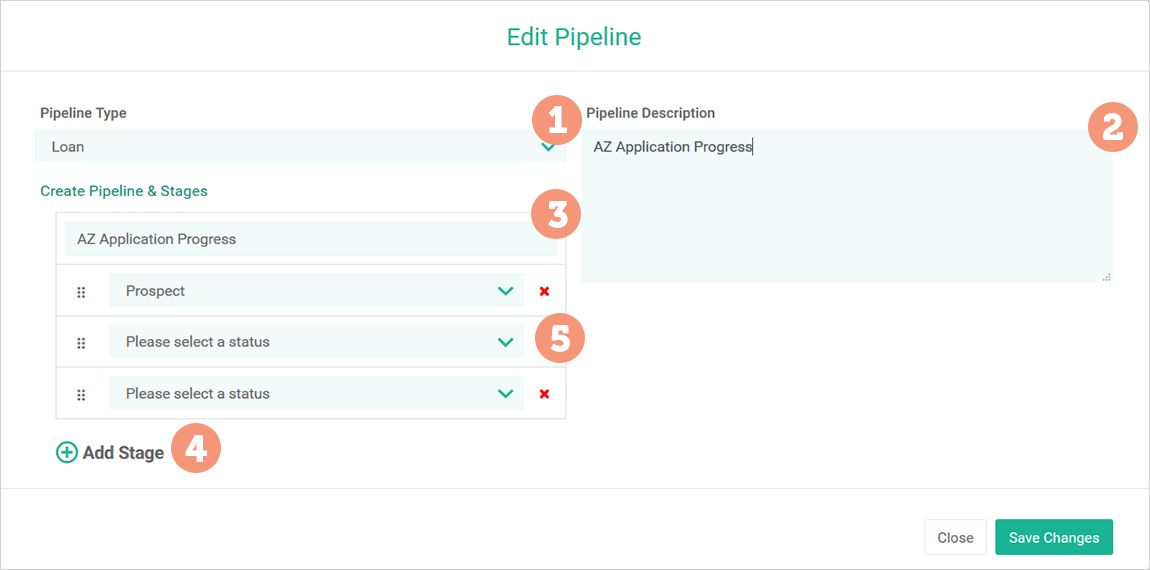
- Select 'Add Stage'
- Default dropdown box options:
- Prospect
- Application Forms Return
- Insufficient Documents
- Loan Submitted to Lender
- Conditionally Approved
- Valuation Ordered
- Valuation Received
- Unconditionally Approved
- Loan Offer Sent
- Loan Offer Received by Bank
- Certified for Settlement
- Settlement Booked
- Loan Settled
- Loan Withdrawn
- Loan Discharged
- Enquiry Only
- Loan Declined
- Loan on Hold
- Migrated Deal
(Note: these are the default options listed above. If you have already created a custom stage, then it will also be included on this list).
Create Pipeline function will start with this:
To edit an existing Pipeline:
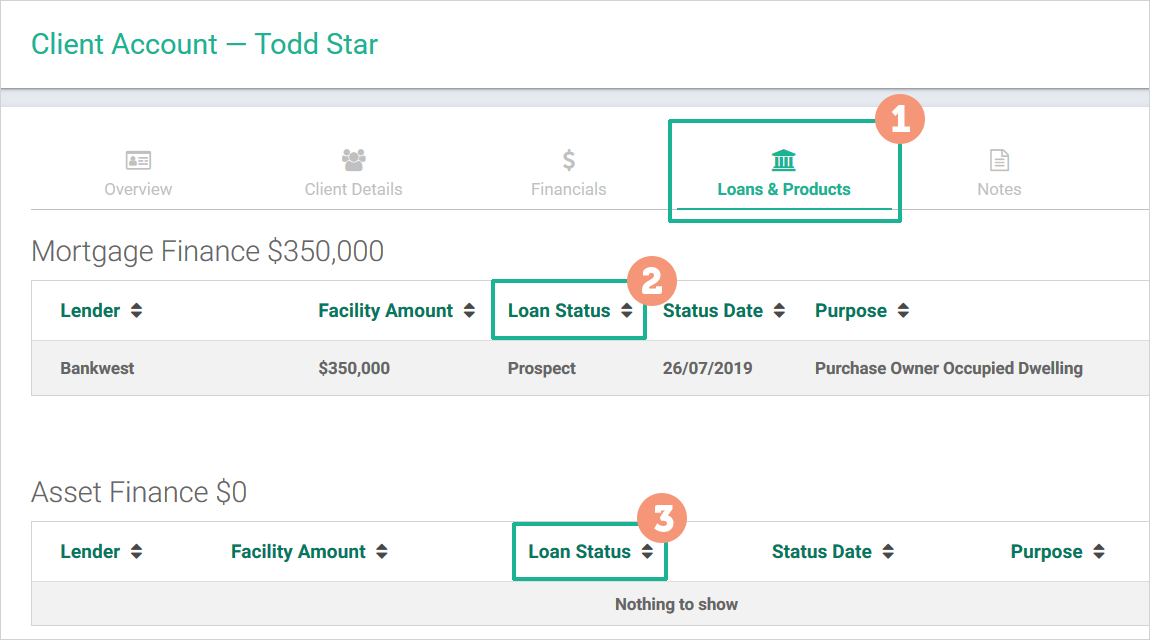
Reminder: your Pipeline results are driven by the Loan Status you allocate to
your clients:
- Manage Accounts
- Individual Clients Profile
- Loans and Products
- Add Loan
- Create Loan Status as shown:
When migration of Brokers from LoanKit to Infynity is complete, you will have access to the Pipeline Settings – Workflows Settings functionality to customise your Pipeline view.
Pipeline Settings - Workflows Settings
From this page, you are able to create custom workflows to automate certain tasks relating to client communication within your business.
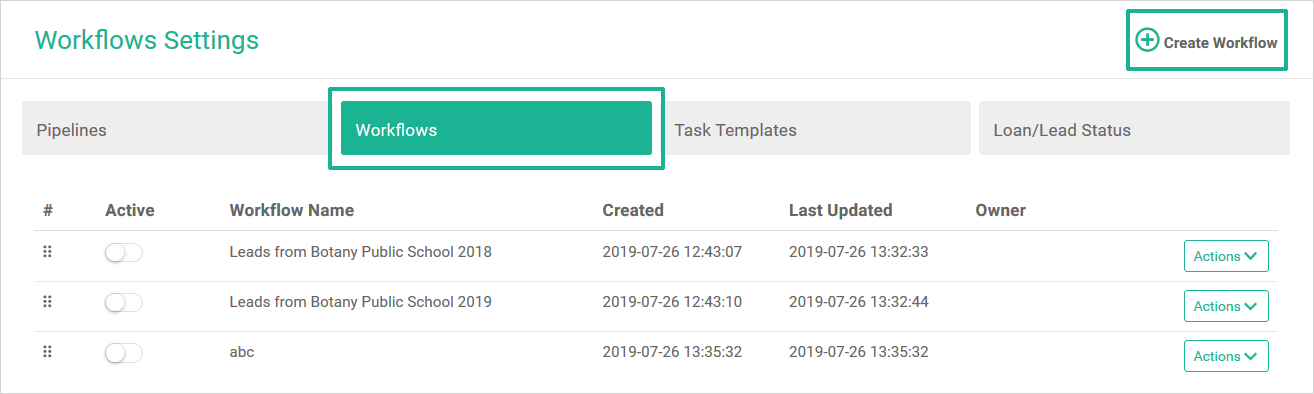
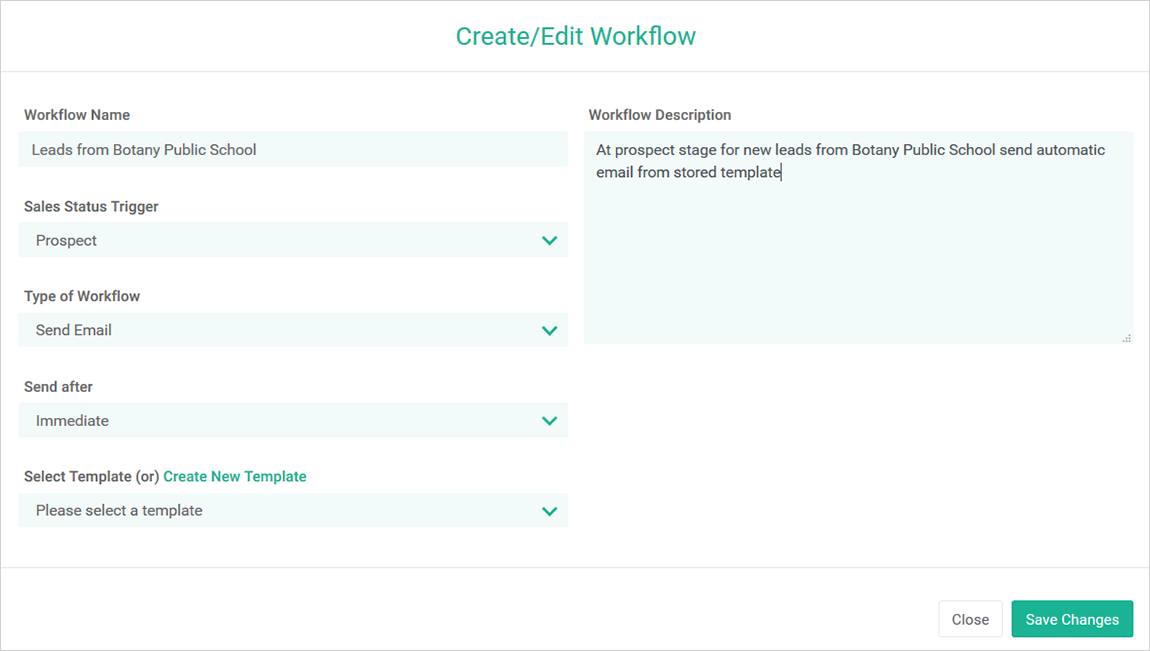
To establish Workflows Settings, click 'Create Workflow' as shown above. This
template will be activated for you to complete the following fields:
- Workflow Name: customise
- Workflow Description: customise
- Sales Status Trigger: 19 pre-loaded options
- Type of Workflow: Send Email / Create Task
- Send After: Immediate / Days / Hours
- Select Template or Create New Template
- Save Changes
Templates, your options are:
- Select Template: that you have previously created
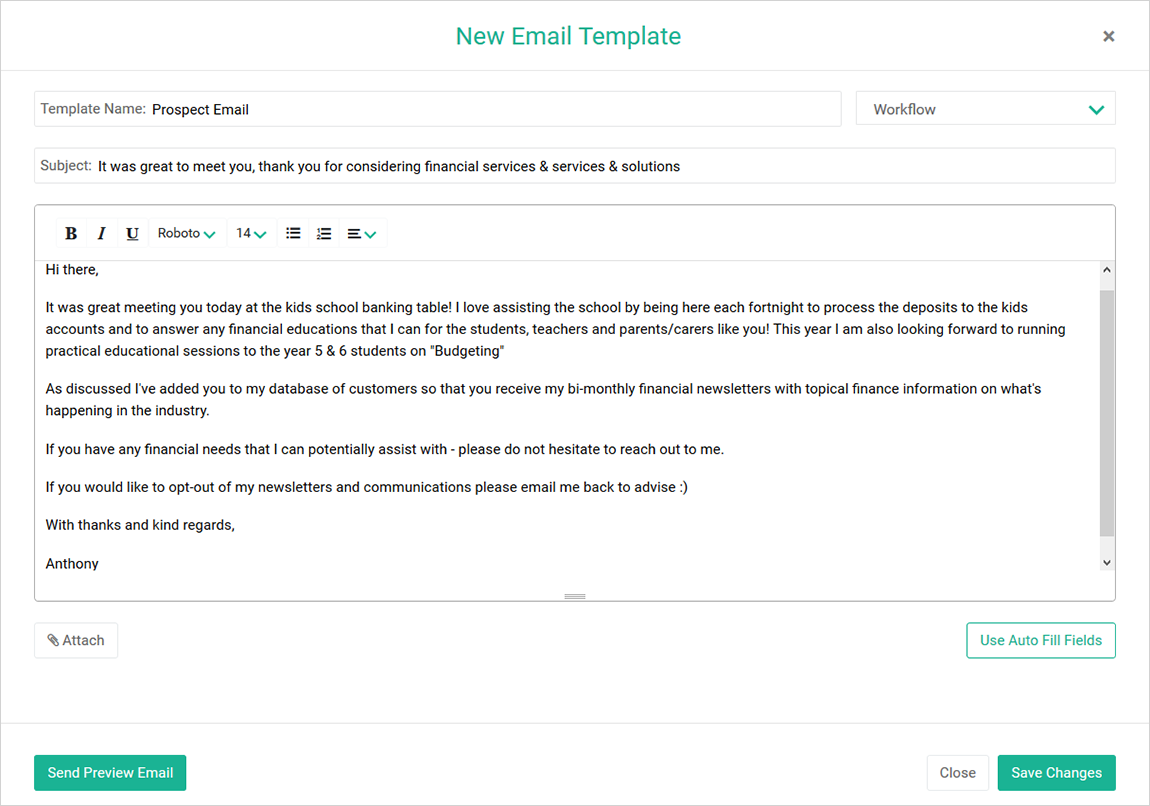
- Create New Template, the next field is shown below:

When you select Create New Template, a new tab will open with your Template Library (Email/SMS)
view:

An example of a custom created New Email Template:
When migration of Brokers from LoanKit to Infynity is complete, you will have access to the 'Pipeline Settings – Workflows Settings' functionality to customise your Pipeline view.
Pipeline Settings – Task Templates
From this page, you are able to create custom workflows to automate certain tasks relating your business operations.
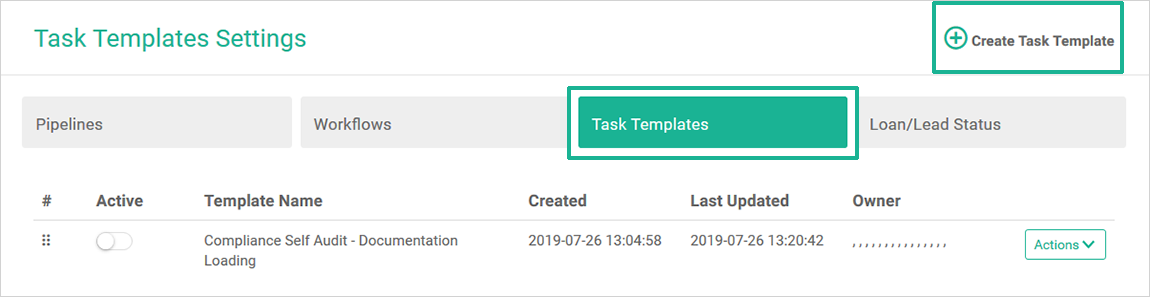
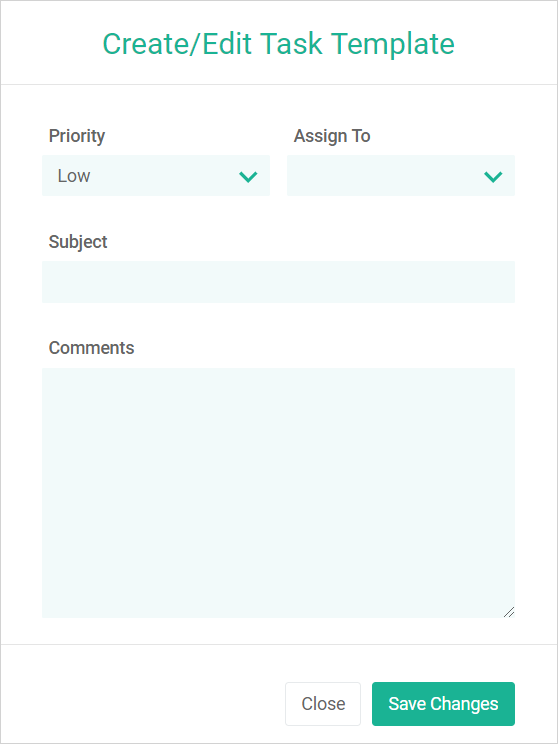
To establish Task Templates, click 'Create Task Template' as shown above. This
template will be activated for you to complete the following fields:
- Template Name: customise
- Assign To: Your Administration Staff or Head Brokers can assign to Sub Brokers
- Template Content: customise
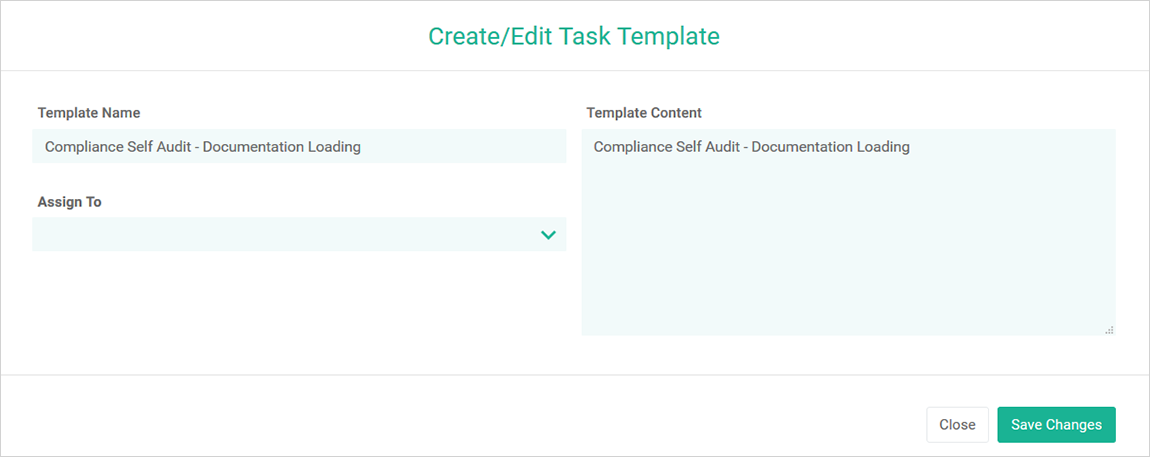
New Template
When migration of Brokers from LoanKit to Infynity is complete, you will have access to the 'Pipeline Settings – Loan / Lead Status' functionality to customise your Pipeline view.
Pipeline Settings – Loan / Lead Status
From this page, you are able to create Loan and Lead status to assist you in understanding what stage the client and their application is at.
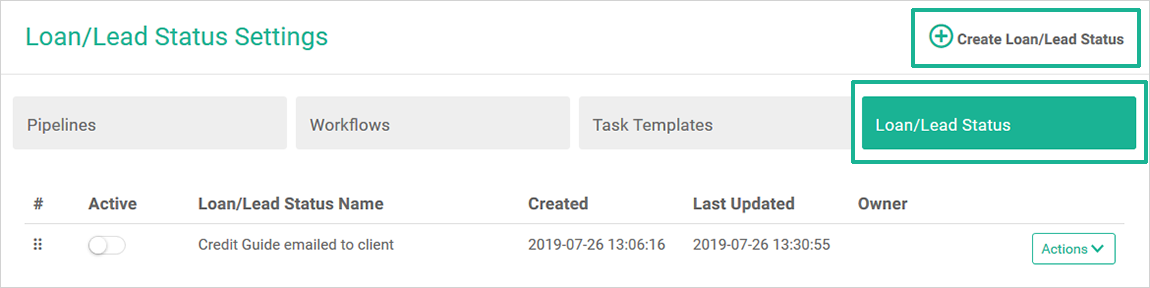
To establish Loan / Lead Status, click 'Create Loan/Lead Status' as shown
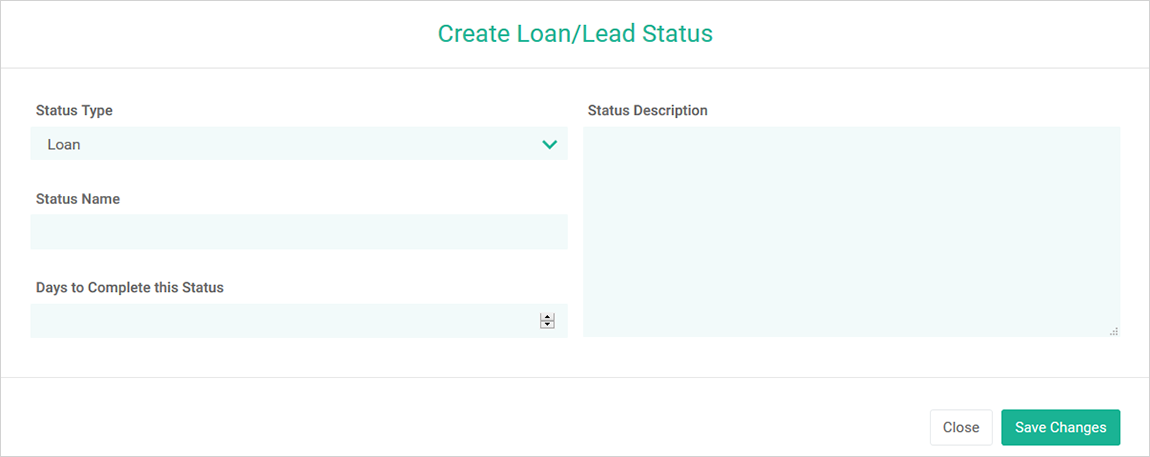
above. This template will be activated for you to complete the following fields:
- Status Type: Loan or Lead
- Status Name
- Days to Complete this Status
- Status Description
Note: if you don’t include a status in Pipeline but you select this on the loan
(under Loan Info) then it will disappear from the Pipeline.
If you add that status to the Pipeline, then the
loan re-appears.